Over time, newly released iPhone lines are always upgraded by Apple in terms of high-quality video recording capabilities. However, this upgrade and improvement brings a “fatal” drawback: the video files will be very large in size. And because the iPhone doesn’t have an expansion card slot, these videos take up a lot of storage space if you don’t move them to the cloud or your computer.
Luckily, you can reduce the size of your videos directly on your iPhone to free up storage space, but in return, the video quality will be reduced. If you are interested in these solutions, the following is the guide for you.
Trim the video using the default iOS editor to reduce size
The Photos app on iOS has a built-in editor with basic tools that allow users to customize images or videos. And in these tools, you can use the crop option to shrink your video, thereby reducing its size. Not as flexible as professional editing tools, “Cut” allows you to select the start and end points of the video to cut the video.
To use, open the video you need and click “Edit”. Then drag the slider at the beginning and end of the video to the point you want to cut and click “Done”.
You will be provided with 2 options for saving the video you just processed. If you want to keep the original video, select “Save video as new clip”, otherwise select “Save video”.
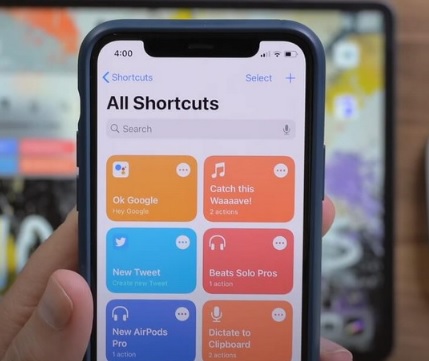
Compress videos using the Shortcuts application
Shortcuts are the fastest way to get work done on your iPhone without having to go through too many steps. And the Compression Shortcuts created below will bring your video to the appropriate size in just a few simple steps. However, Apple does not provide Shortcuts options for video compression, so you can do the following to create your own Shortcut to use.
Step 1: Open the Shortcuts app on iPhone and tap “+” to create a new shortcut. Then give this shortcut a name.
Step 2: Click “Add Action”, then enter the keyword “Get Images from Input” and click on the corresponding result.
Step 3: Tap “Input” and change it to “Shortcut Input”. Continue changing “Nowhere” to “Show in Share Sheet”.
Step 4: Continue searching for “Set Variable” and click on the corresponding result. Then enter a name for it “Video” and click “Images” below.
A window appears, click on “Clear Variables” and change “Input” to “Shortcut Input”.
Tips to save space for iPhone users who regularly record videos – Photo 8.
Step 5: Continue to find more “Count” and “If” tasks. Change “Condition” to “is greater than” and “Number” to “0”.
Step 6: Then find and add to the “Get Variable” task, change “Variable” to “Video”.
Step 7: Now press and hold on that task and move it as shown, find and add “Select Photos”. Then change the Select Photos option to “Select Multiple”.
Step 8: Next, find and add “Encode Media”, then expand this option from the blue arrow, tap “Size” and change it to “Ask Each Time”.
Step 9: Continue adding “Choose from Menu” and add saving options like “Save to Camera Roll” or “Share”. Then find and add these 2 options from the menu and set as shown. Now check everything again and click “Done” to save.
To use, find the video you need to process, click on the share icon and select the shortcut you just created, select the screen size for the video and save the result and you’re done.
Compress videos using Apple’s iMovie application
Another way to compress videos on iPhone is to use the iMovie app, Apple’s video editor. Although inferior to other premium video editors, it does a very good job of compressing videos. To compress videos with iMovie, you’ll need to install the iMovie app from the App Store if you haven’t already done so. How to do it as follows.
Step 1: After installation, launch the application and click Start New Project > Magic Movie, select the video you need to compress and click “Create Magic Movie”.
Step 2: Click Done > Share Video, click Options.
Step 3: Select screen size and click Done.
Conclude
Above are the 3 most basic and simple solutions for you to reduce video size. However, depending on your purpose, you should consider compressing the video. If you record and share videos on social media platforms, reducing the video size is a good idea. If you record and export video to a large screen with high quality, this is not necessary. However, if possible, back up these videos to another form of storage to free up space for your iPhone.